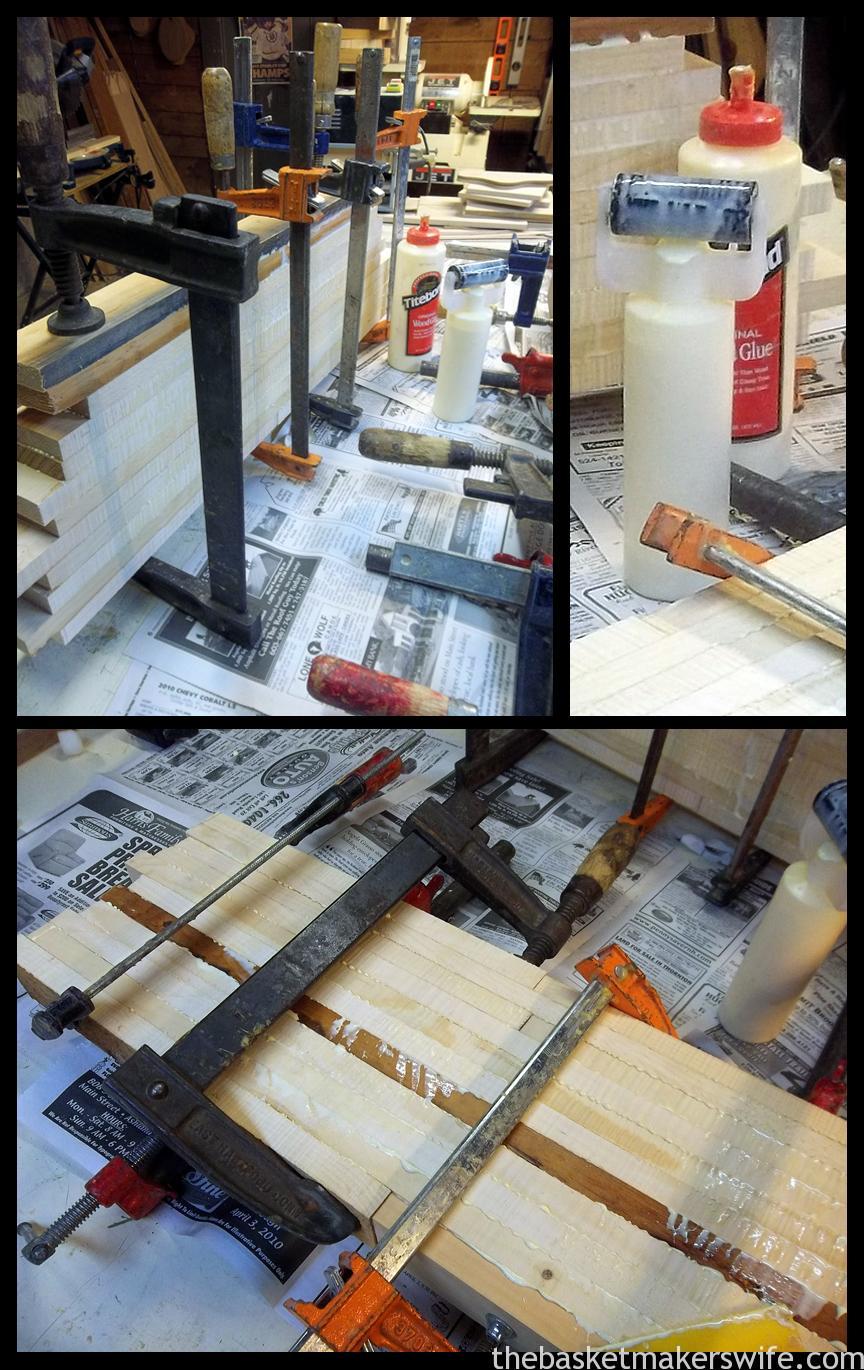
Many of you know, especially if you have taken a workshop from Eric, that his baskets are made on forms or otherwise better known as molds. Here’s a quick lesson from the “wife” on the first stage of creating these molds (yes, there are several stages).
All of the molds used in Eric’s workshops are glued, then planed, then shaped and finished by Eric. If I could stand the smell of all that glue, I could help him. But as I said, I cannot stand the smell of all that glue! So he has to create all his molds by himself.
So the first stage of the mold-making process begins at a local New Hampshire sawmill where Eric meticulously searches for a good deal on Pine wood. Eric’s baskets are made only from Cherry and Black Ash. But as I’ve been told, pine is great for molds. It’s less expensive then hardwoods and sands quickly and easily. Usually, he ends up purchasing an “odd Lot” filled with different-sized wood. It means more work for him, but it helps save money and keep the costs of his kits for his customers and students as low as possible. (We both like that!)
After he sorts all the wood in the workshop, he then prepares the wood for “glue-up.” This involves fusing multiple pieces of wood together which makes the finished product, or mold, more stable and less likely to “check” or crack. The wood he was working on yesterday had many areas that needed to be cut out. So he trims the bad edges of the boards and removes all unworkable sections. Strips are then cut to the width that he needs for the particular mold size.
These strips of Pine are then glued together one piece at a time into one tall, solid block. He uses a nifty glue roller that applies a nice even coat of glue down the length of the board (I tried it a couple times but left running from that glue smell!) He simply stacks one board on top of the next as quick as possible. Once all the boards are evenly coated and stacked, it’s time for the clamps. Ensuring even pressure, he attaches many large wood clamps that will tighten the wood together. He slowly turns the clamps until the glue starts to squeeze out. Then they sit.
In three or four hours, the block will be ready for the planer. I’ll get him to do a post on the planing in the near future (probably well after Stateline convention in Indiana).
commenting on: “If I could stand the smell of all that glue, I could help him. But as I said, I cannot stand the smell of all that glue!” Lynne, I know you can’t smell anything. Your just dodging your duty to help Eric.
You called me out Karen! However, because this glue is so potent, I can actually smell it!! That’s how bad it smells. 🙂